Uploading your past performance
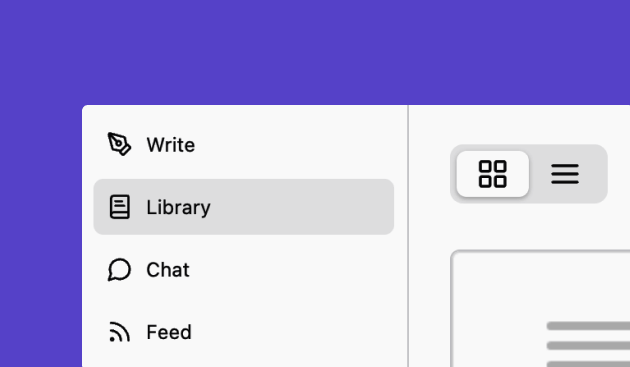
Before you start drafting your proposal, it’s crucial to upload your past performance documents. This will allow Unanet ProposalAI to leverage your previous work for more effective proposal generation.Navigate to the “Projects” tab
This is where the data that powers Champ and Proposal Generation will live,
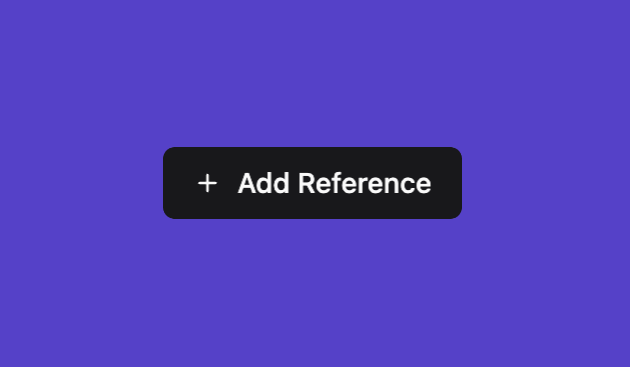
Click on ‘Add Project’
Click on the button in the top right of your screen: Add Project.
Creating a project
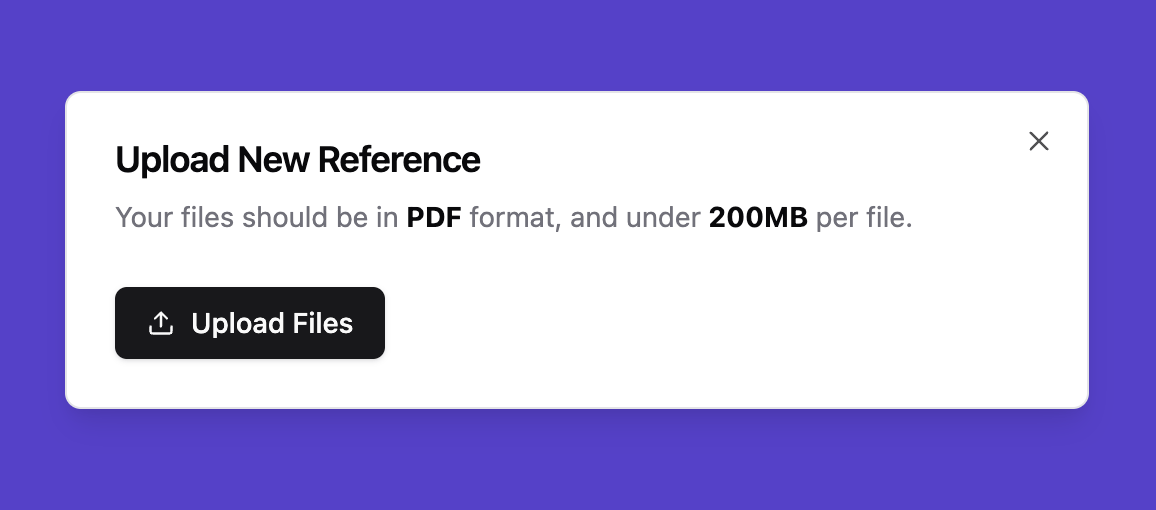
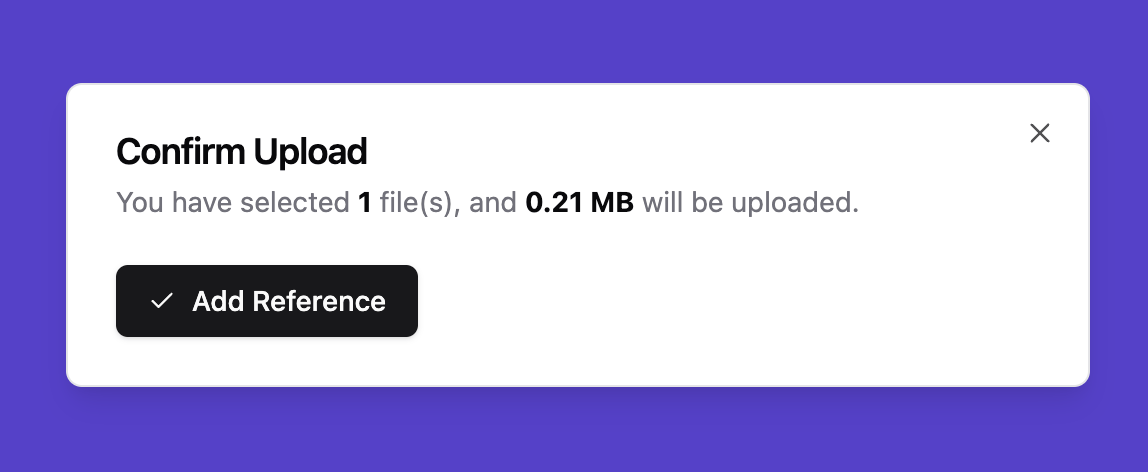
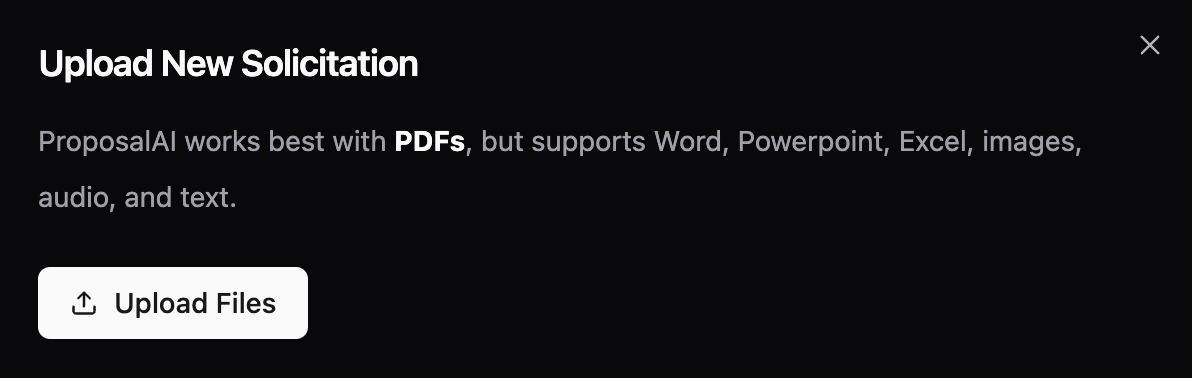
You have two options when creating a project: Uploading Documents or filling in manually Upload Files and make sure to select valid PDF files under 200MB from your device. Make sure your PDF is not password-protected. You can upload one or many references at once.
Uploading documents
If you choose “upload documents”, each document will be created as a separate project. If you’d prefer all uploaded documents to be part of a single project, you can merge the projects after uploading by clicking on the three dots on the right side of the document file.

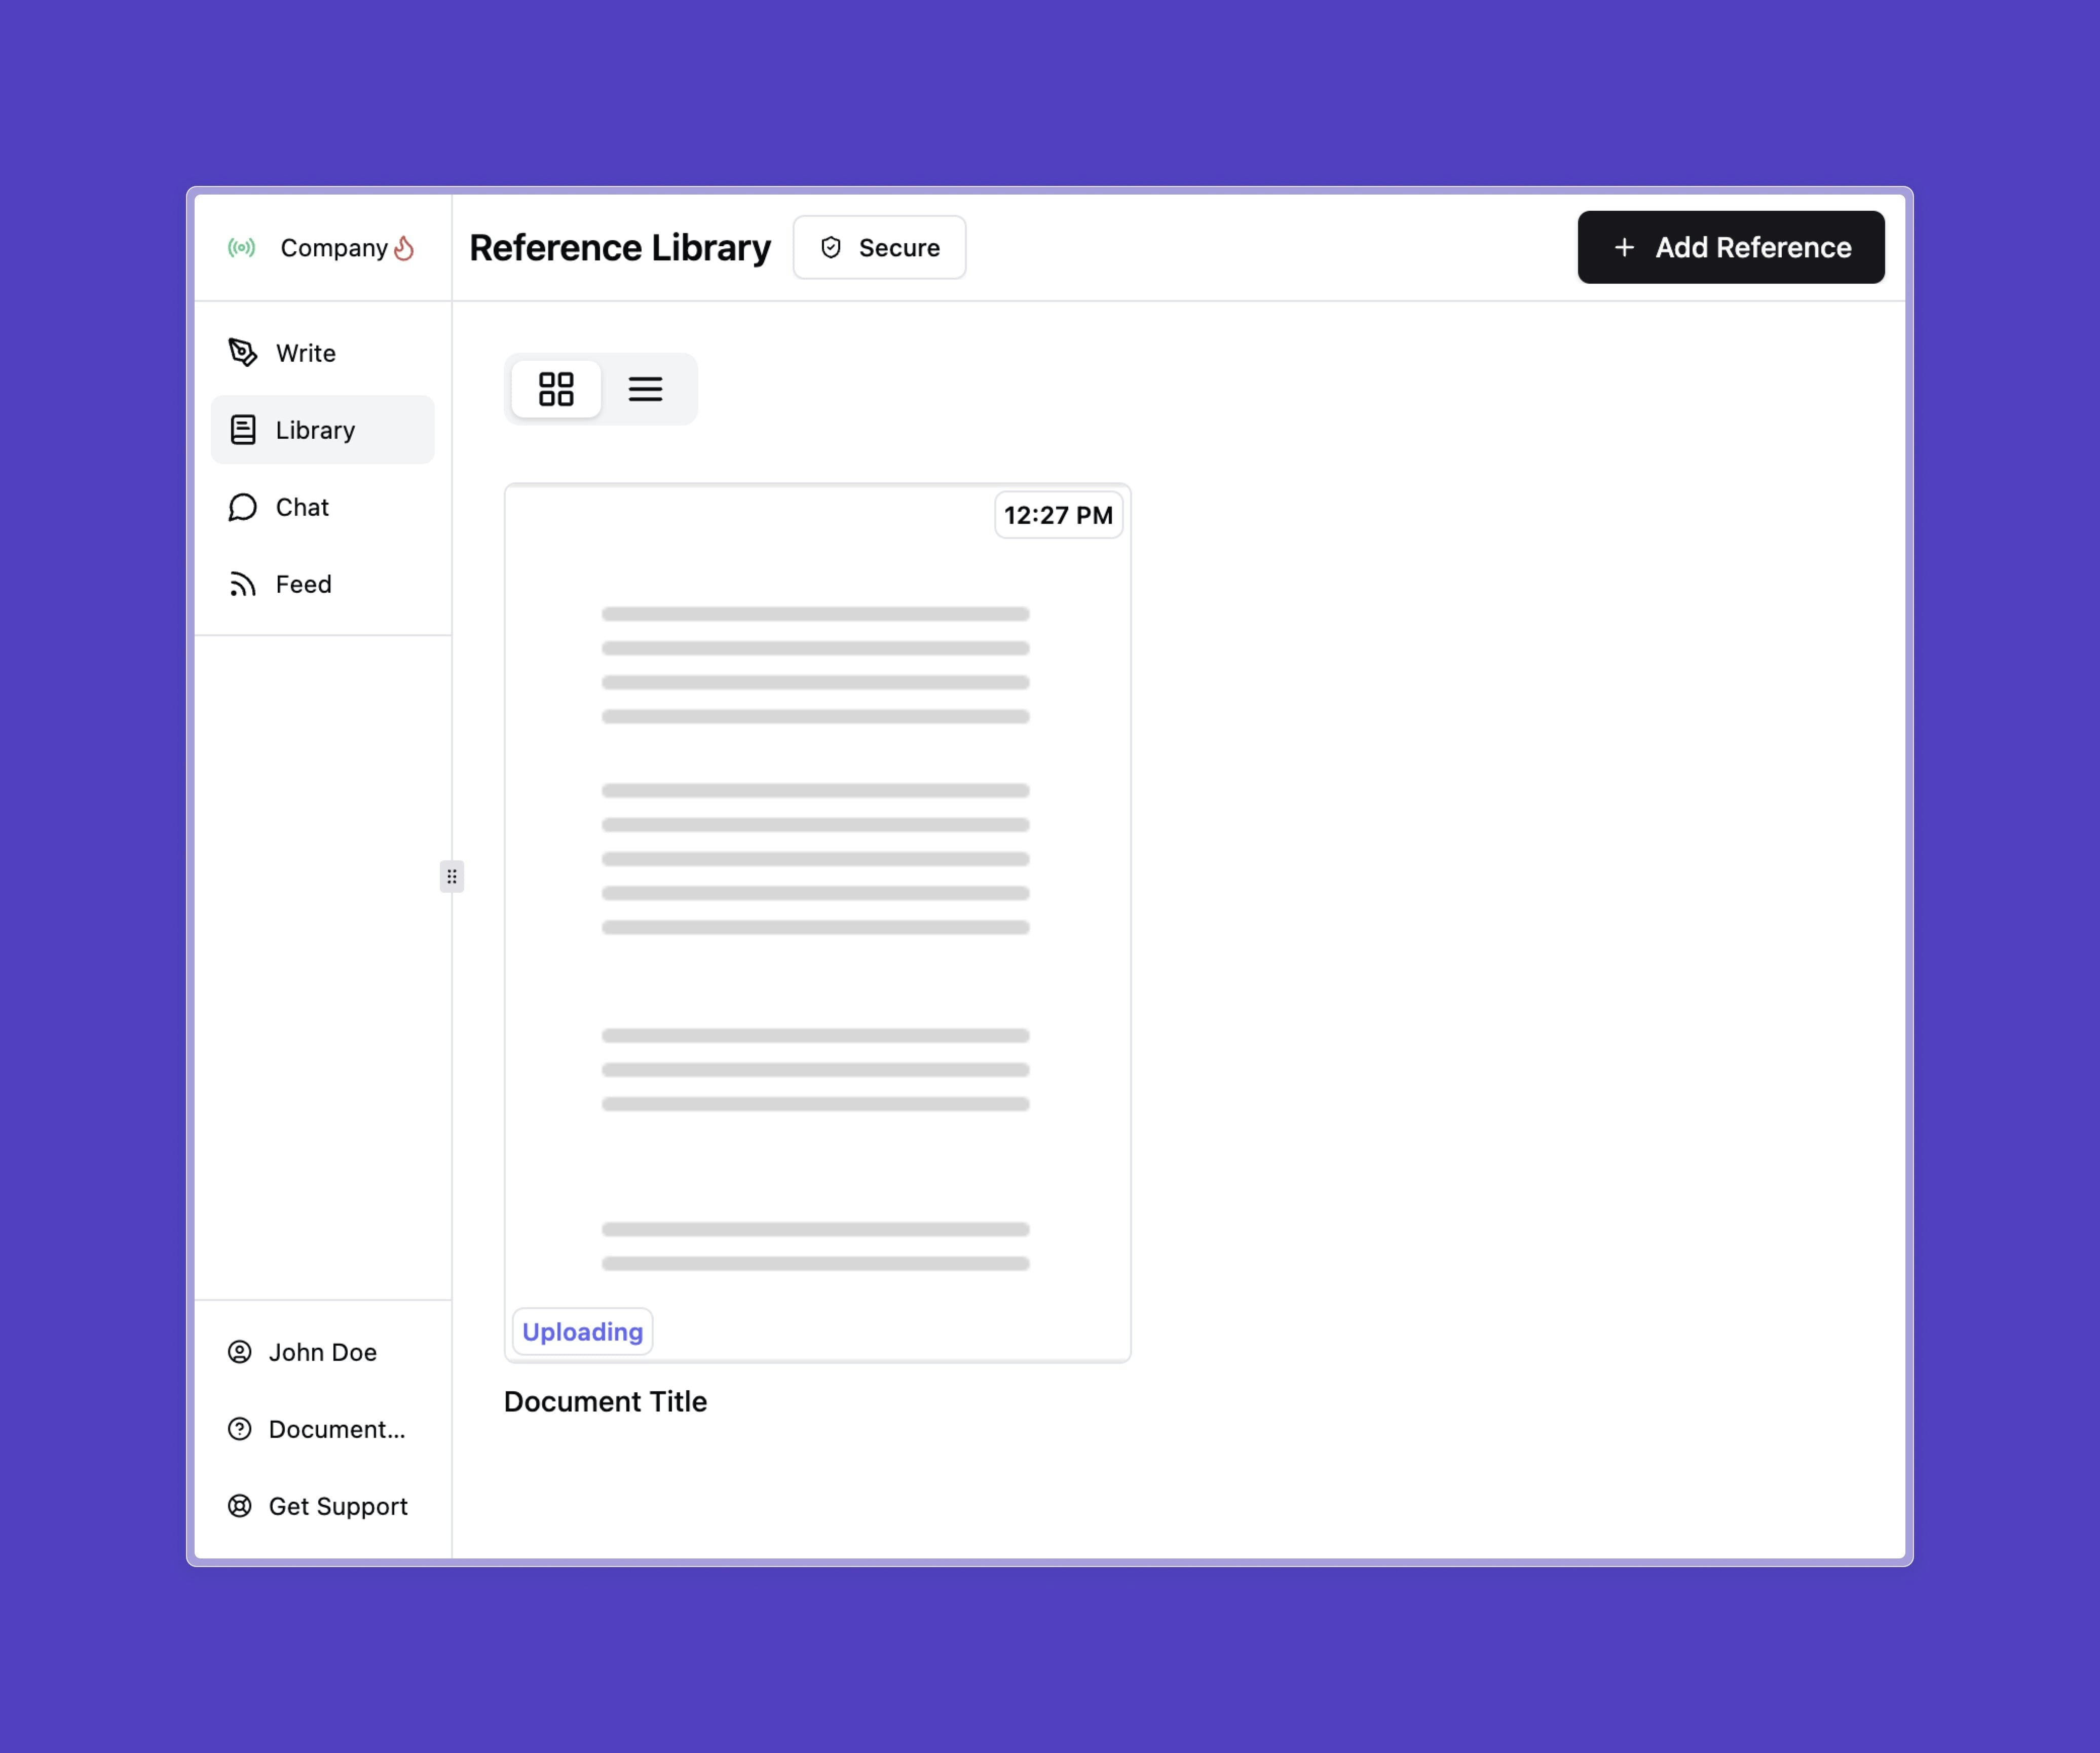
Wait for upload and parsing
You should now see your file in your list of documents. Please wait for the document to upload and parse. (You can see the status on the document on the right side)
Projects Page
The Projects page automatically generates a description based on the documents you’ve uploaded. It also identifies key details such as content type, data category, work classification, location, and project information.
Drafting a proposal
You are now ready to start drafting a proposal using Unanet ProposalAI.Navigate to the “Write” tab
This is where you upload solicitations and write your responses.
Click on ‘Add Solicitation’
Click on the button in the top right of your screen: Add Solicitation.
Click on ‘Upload Files’
Click on Upload Files and make sure to select valid PDF files under 200MB from your device. Make sure your PDF is not password-protected. You can upload one or many solicitations at once.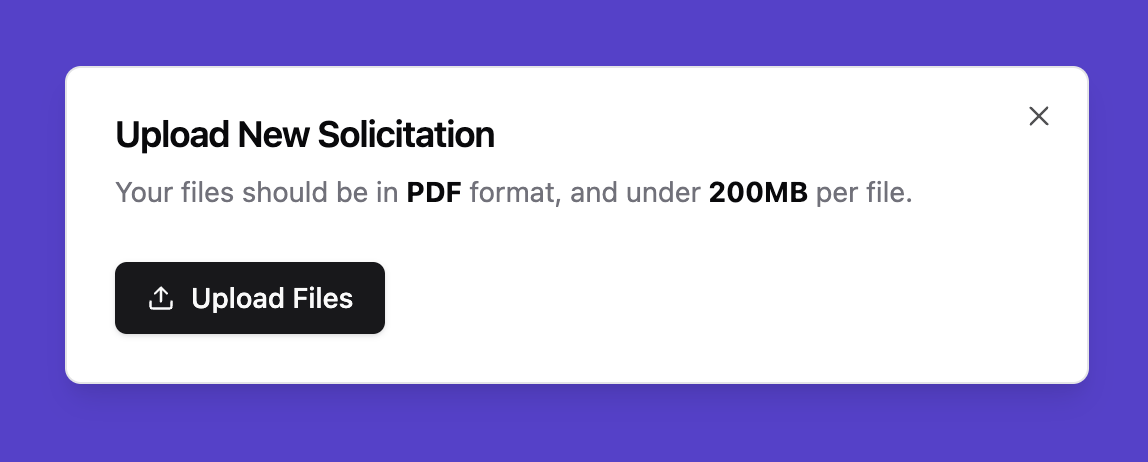
Wait for upload and parsing
You should now see all of your uploaded solicitations. Please wait for the document to upload and parse. (You can see the status on the document on the bottom left of its preview image)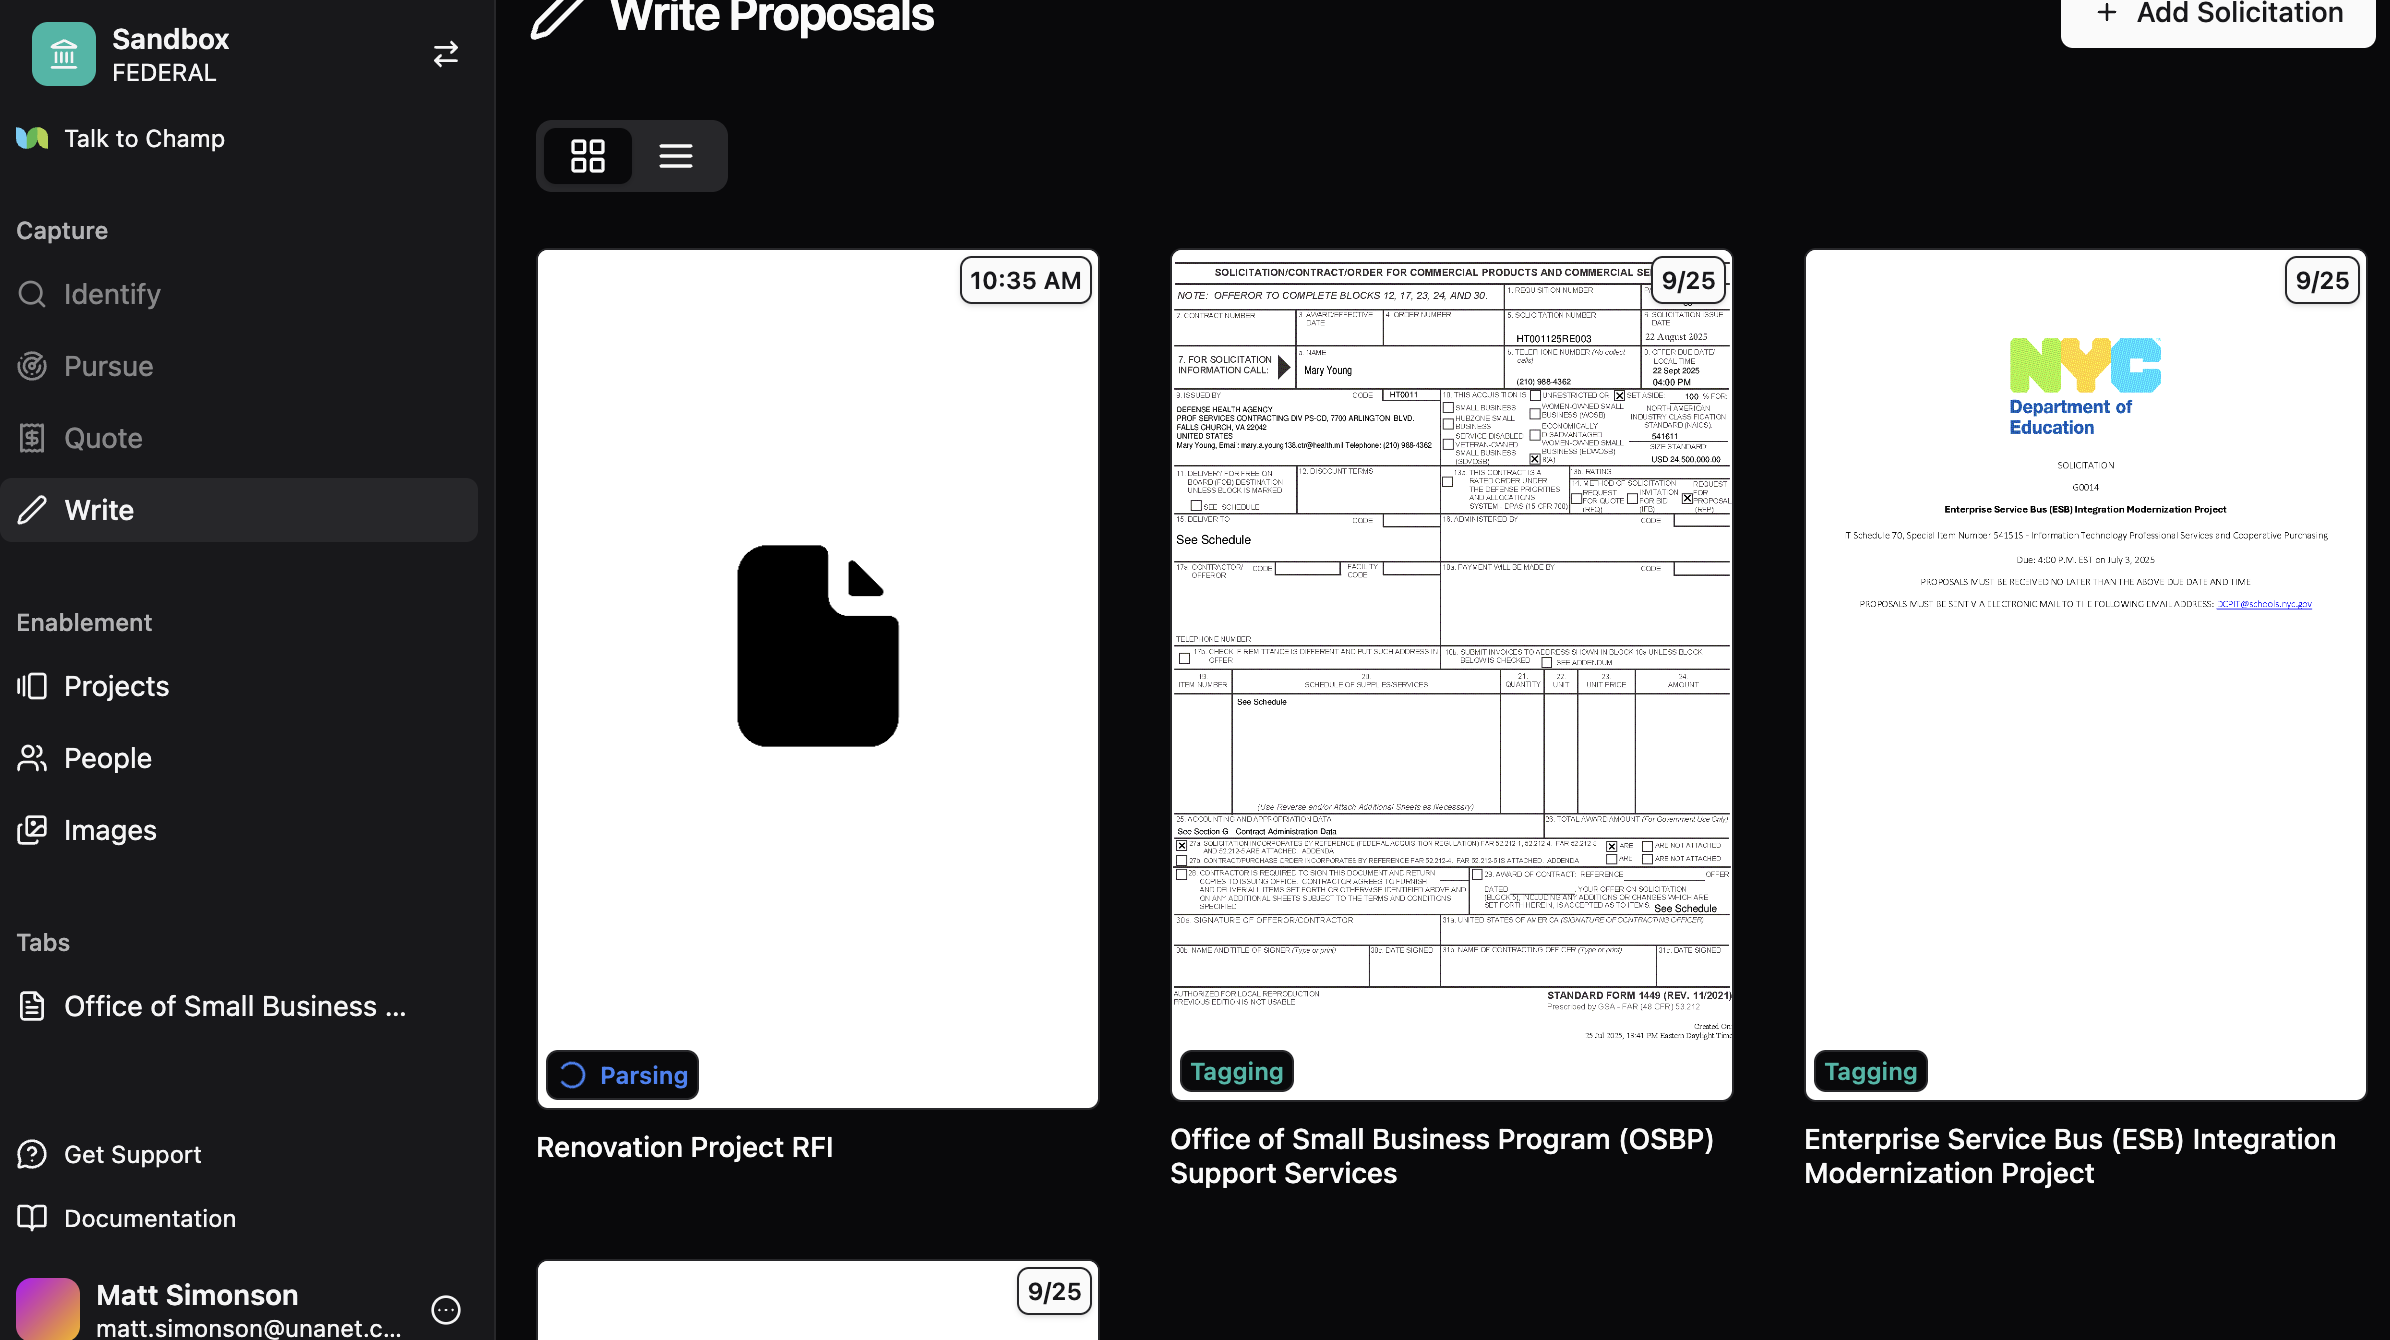
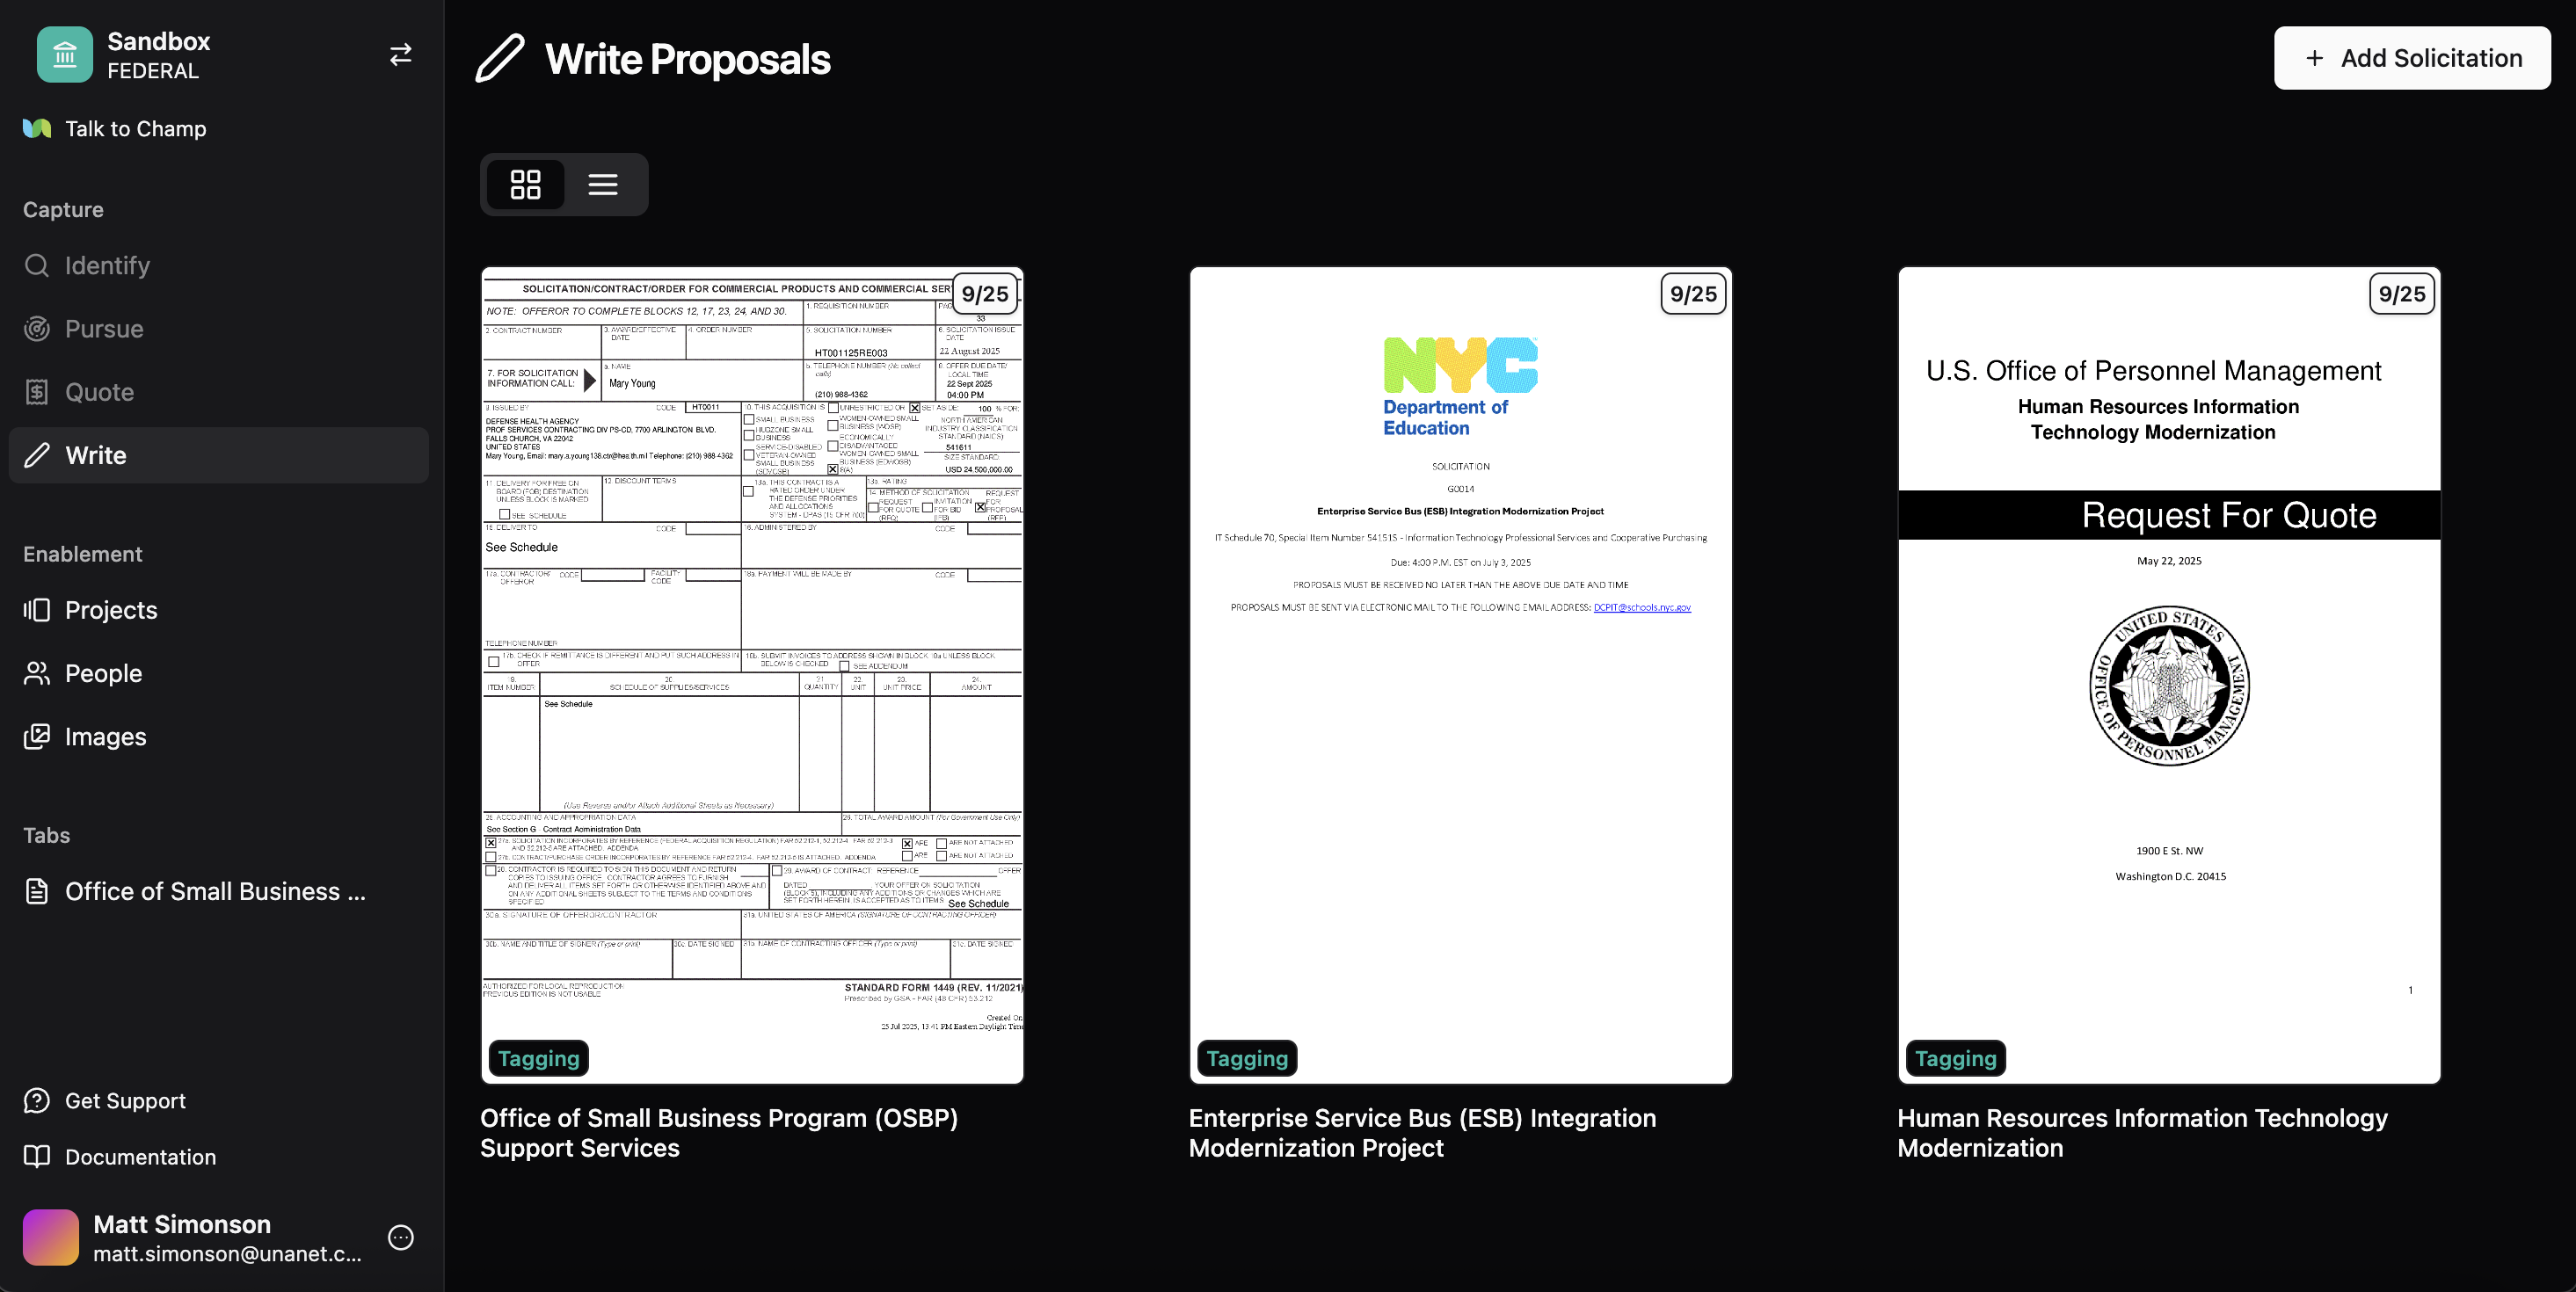
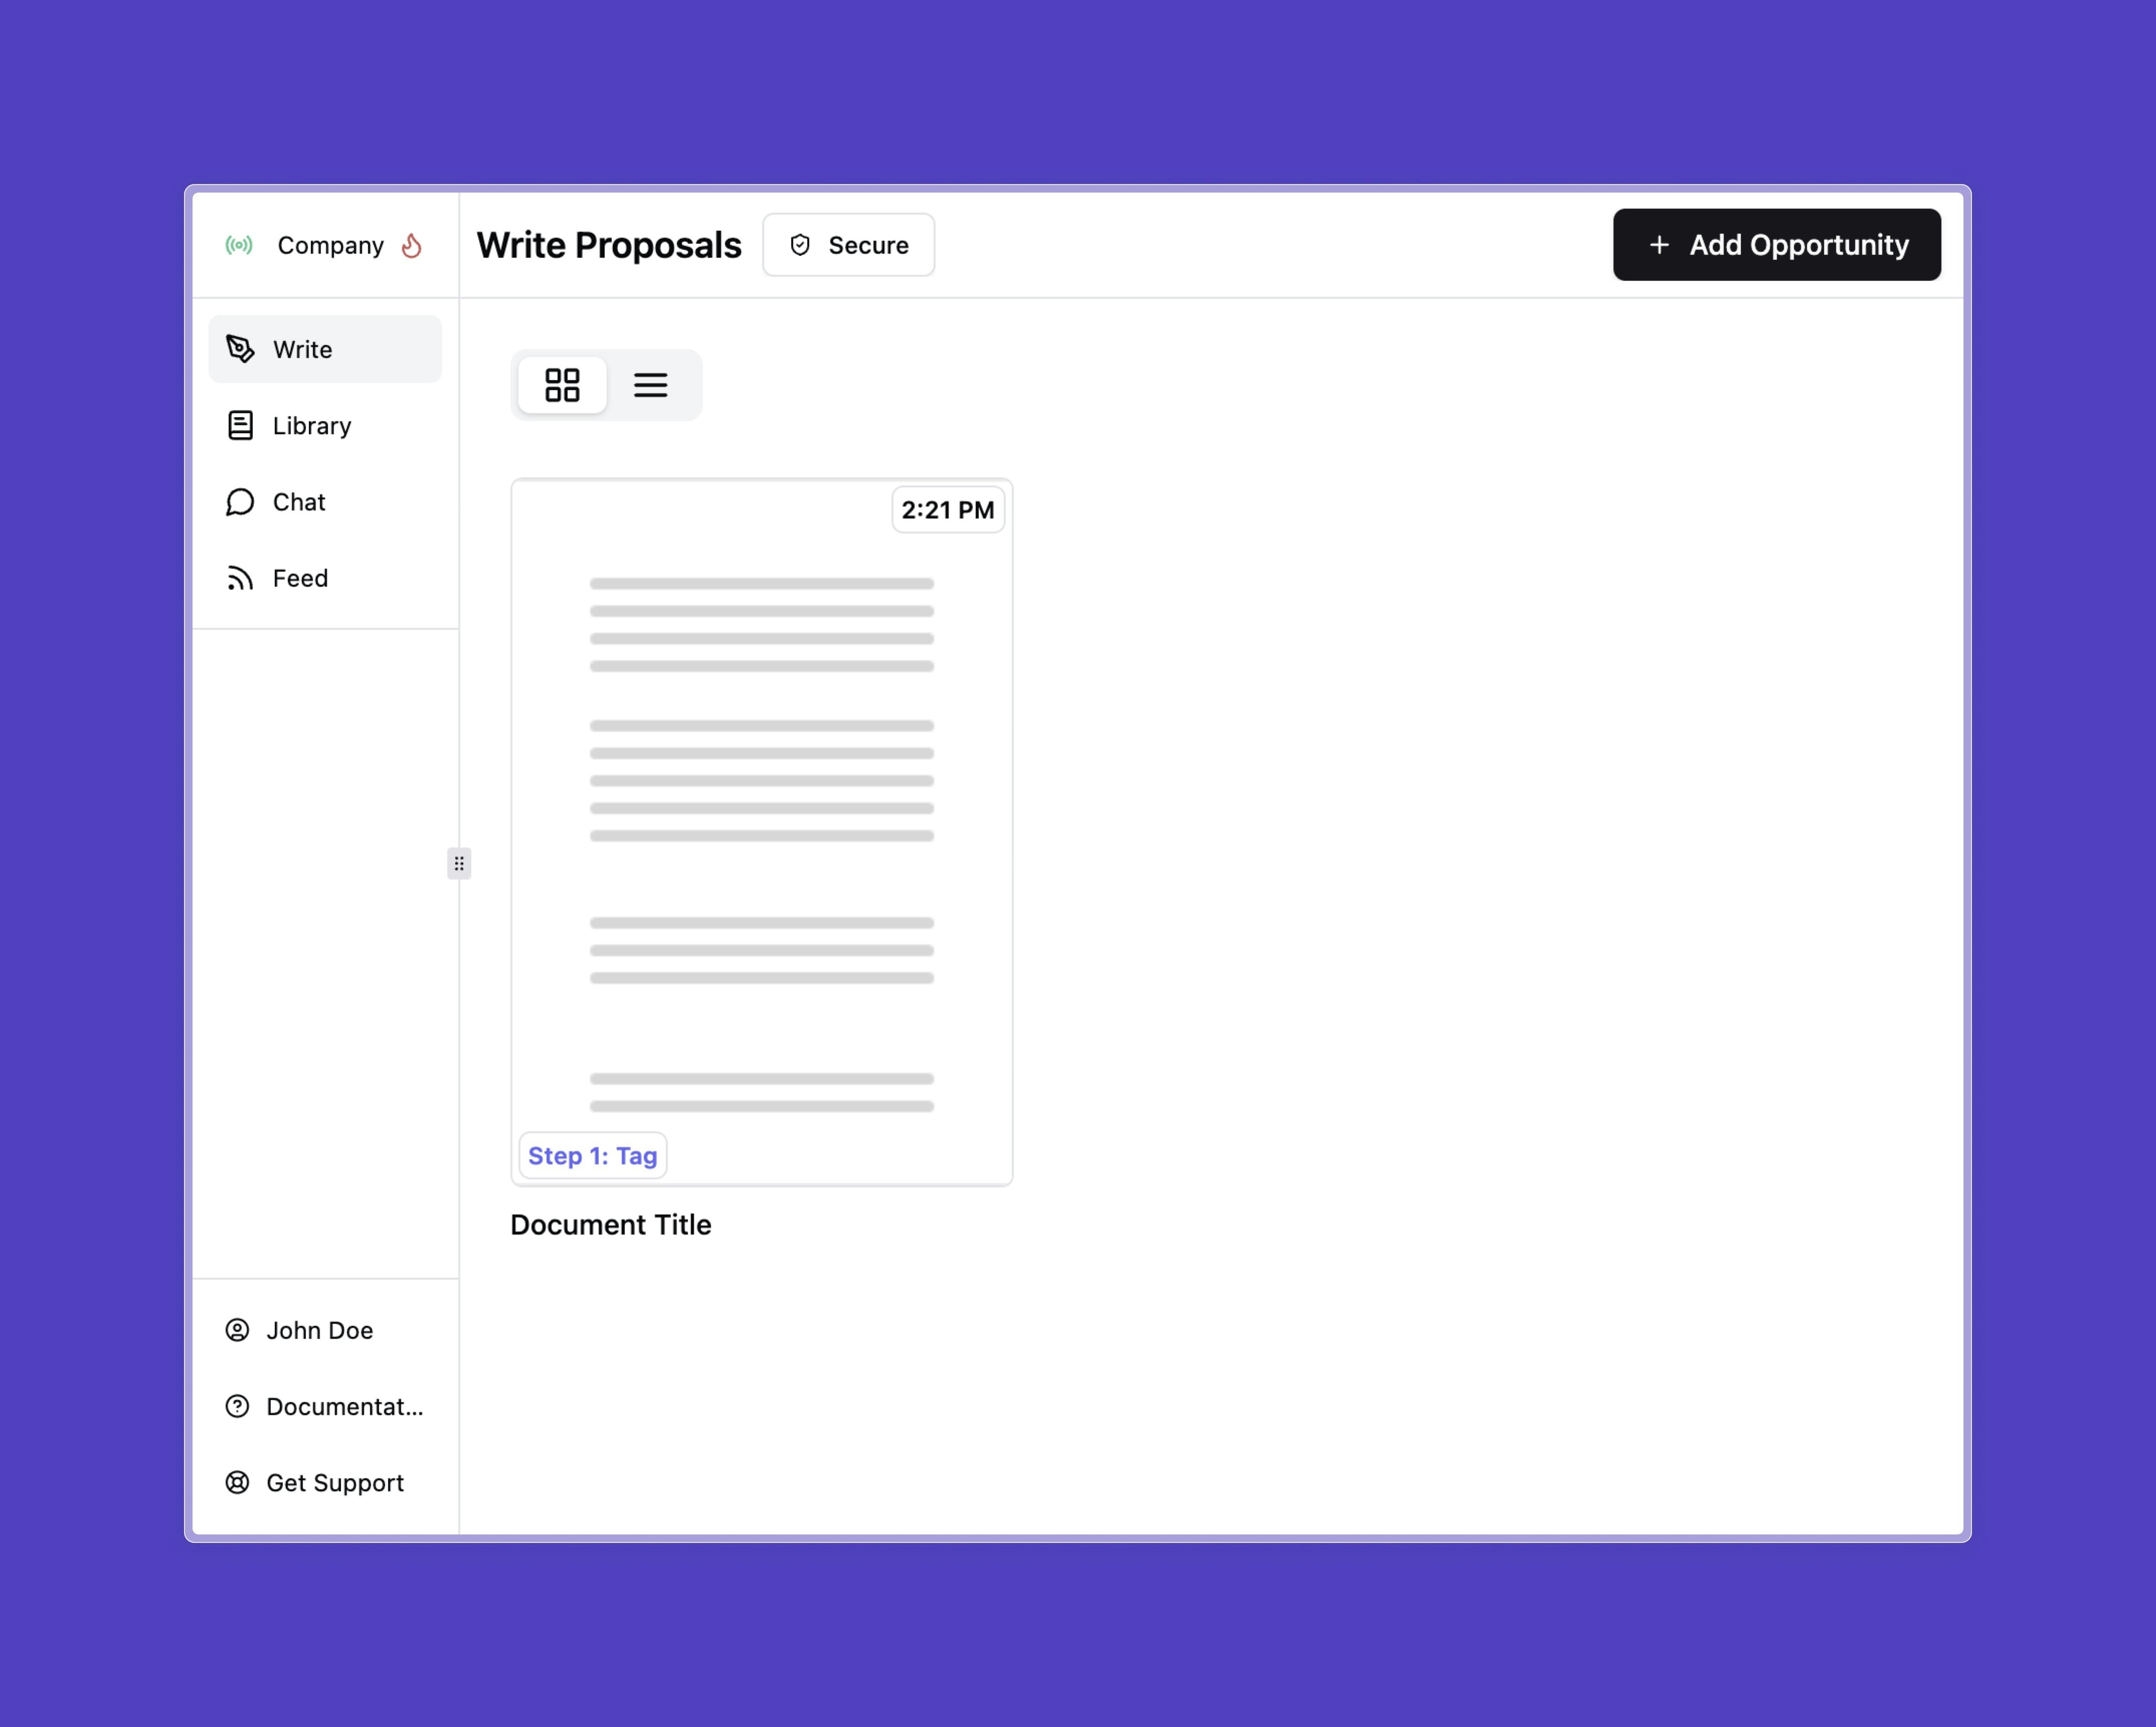
Step 1 - Tagging
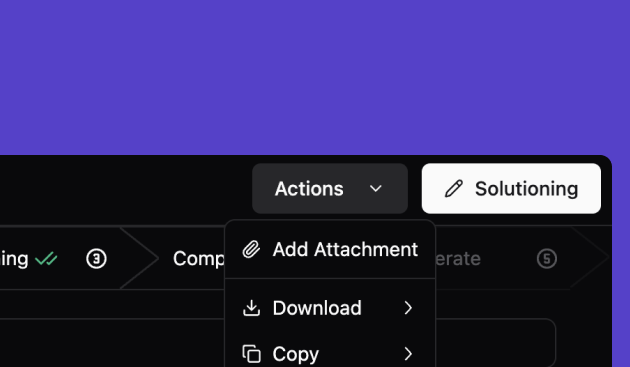
Adding attachments
You are able to add more attachments such as the Statement of Work (SOW) or Performance Work Statement (PWS) that are relevant to this solicitation.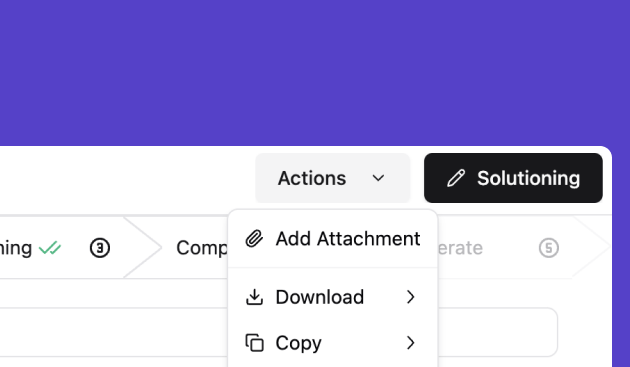
Solicitation Parsing
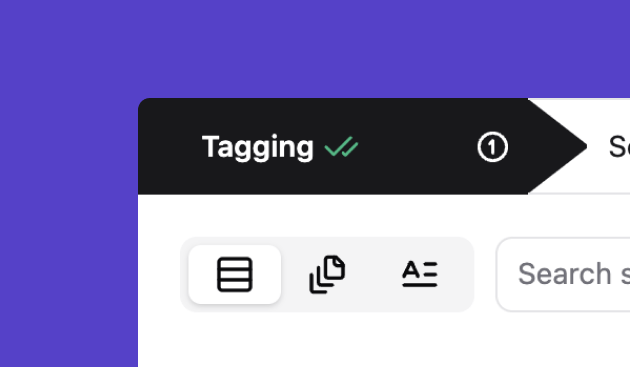
In this step, Unanet ProposalAI breaks down the solicitation into their C, L, & M categories or the Requirements, Submission Instructions, and Evaluation Criteria. Here you are able to review to ensure the accuracy and completeness of the parsing. This step is foundational in creating the proposal response.Different ways to view the document
You are able to toggle between the parsed view, the original view and a text only view
Searching the solicitation for key information
You can ask questions or search within the document using the bar next to the magnifying glass. Answers are generated in natural language and include relevant links.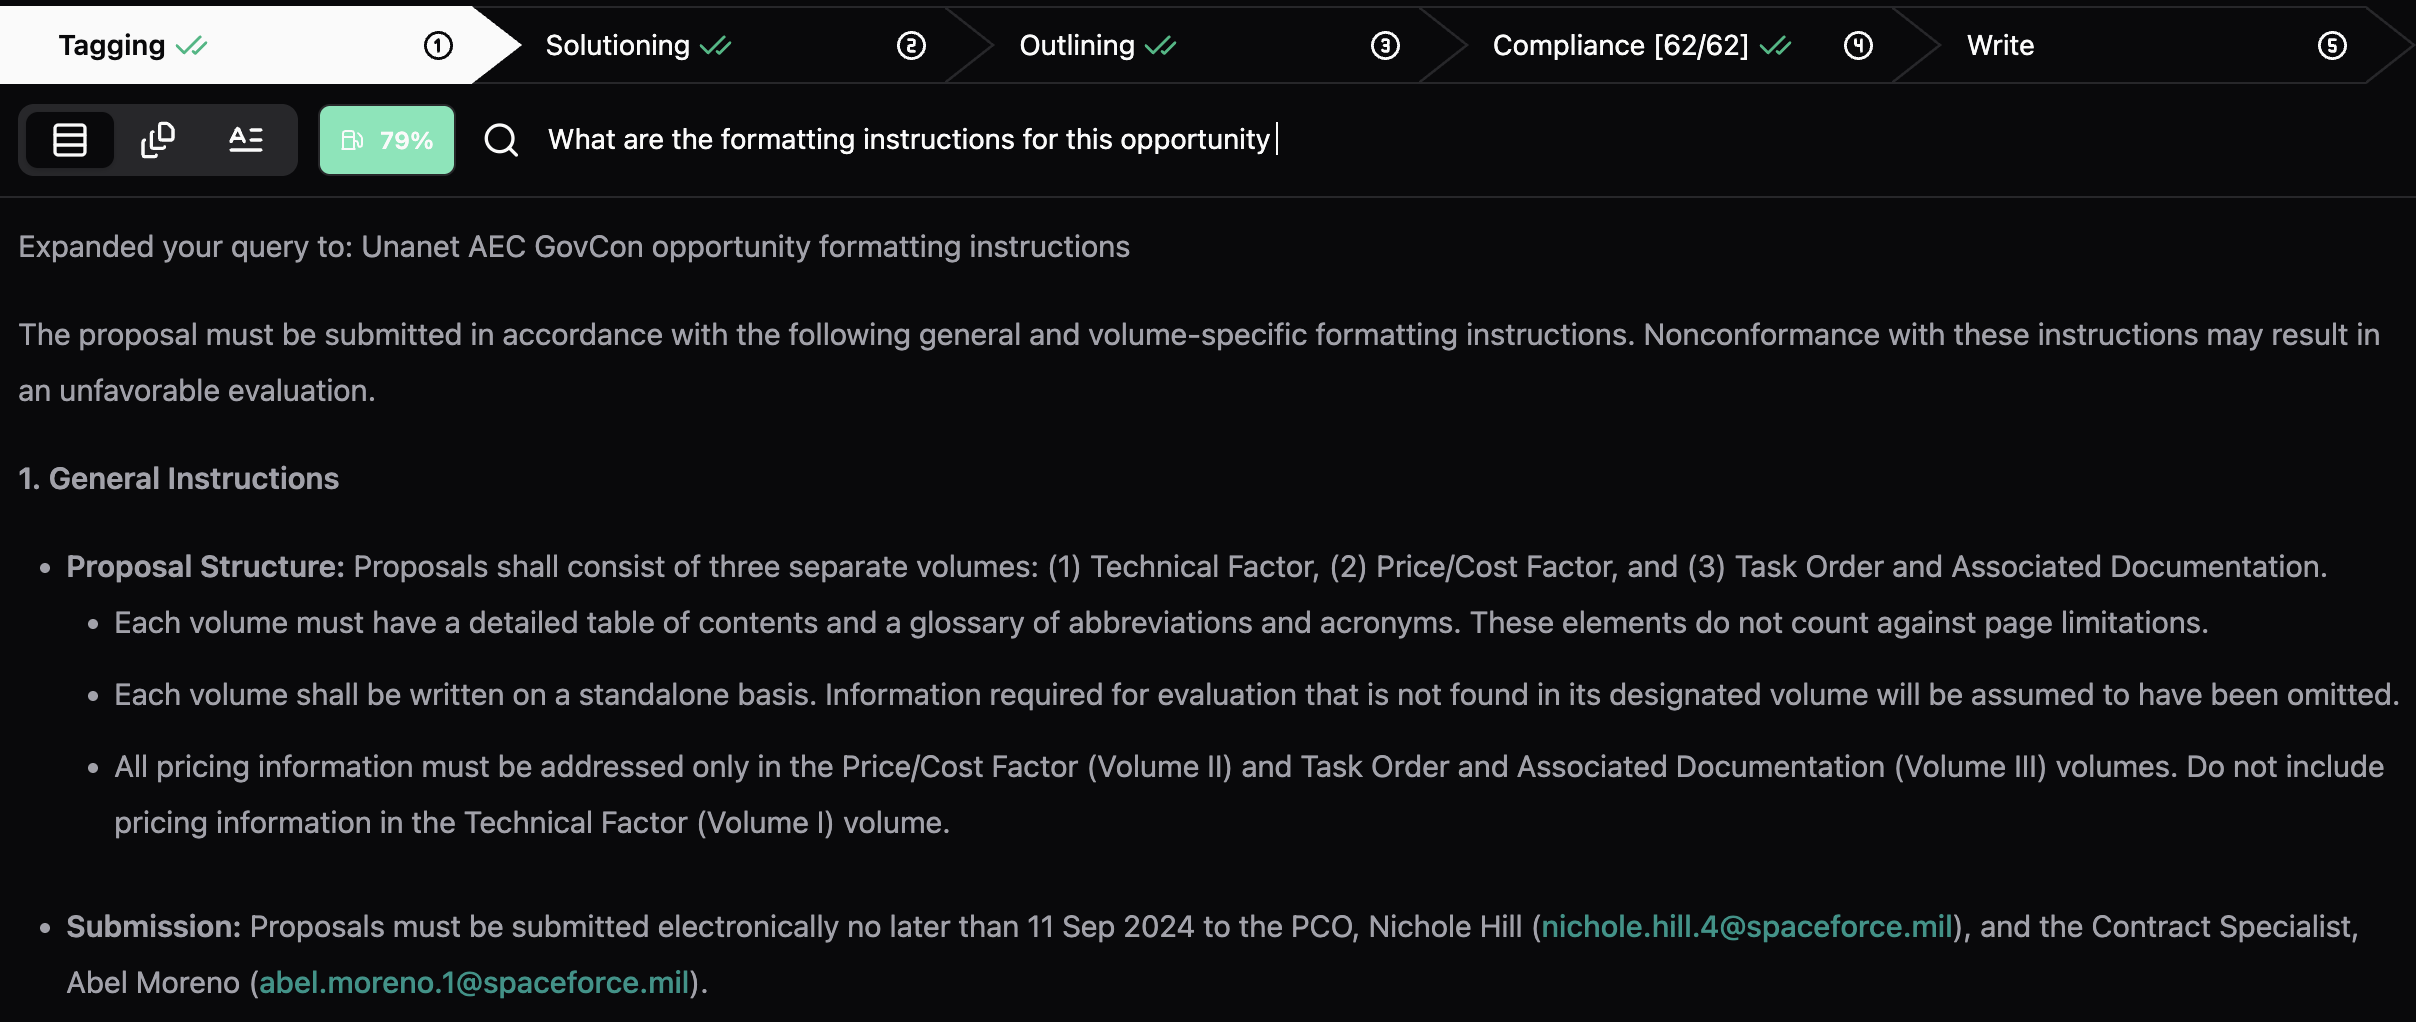
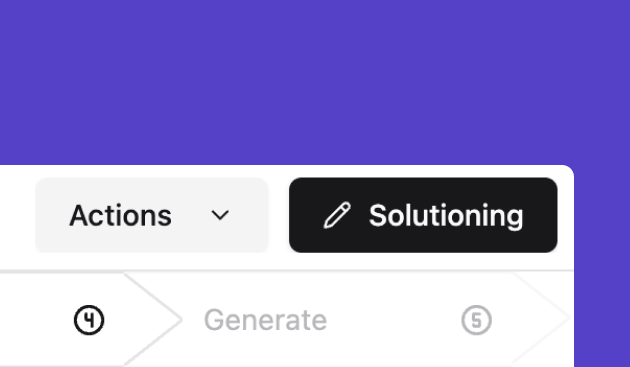
Moving to Solutioning
Click Solutioning to move to the next step.
Step 2 - Solutioning
Adding questions provides extra context and information that may not be included in the solicitation, but would help the solution develop a more compelling proposal.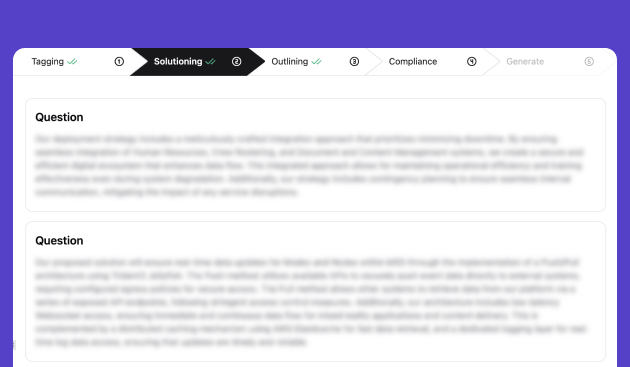
Adding questions
Adding questions provides extra context and information that may not be including in the soliciation, but would help the solution develop a more compelling proposal.Editing the answers to the core questions
The answers to these questions are foundational components of the content that will be generated. The platform pulls a foundational understanding of your approach. You may want to enhance this content. Simply click into the text and begin to edit as you see fit. You can also paste in content as well.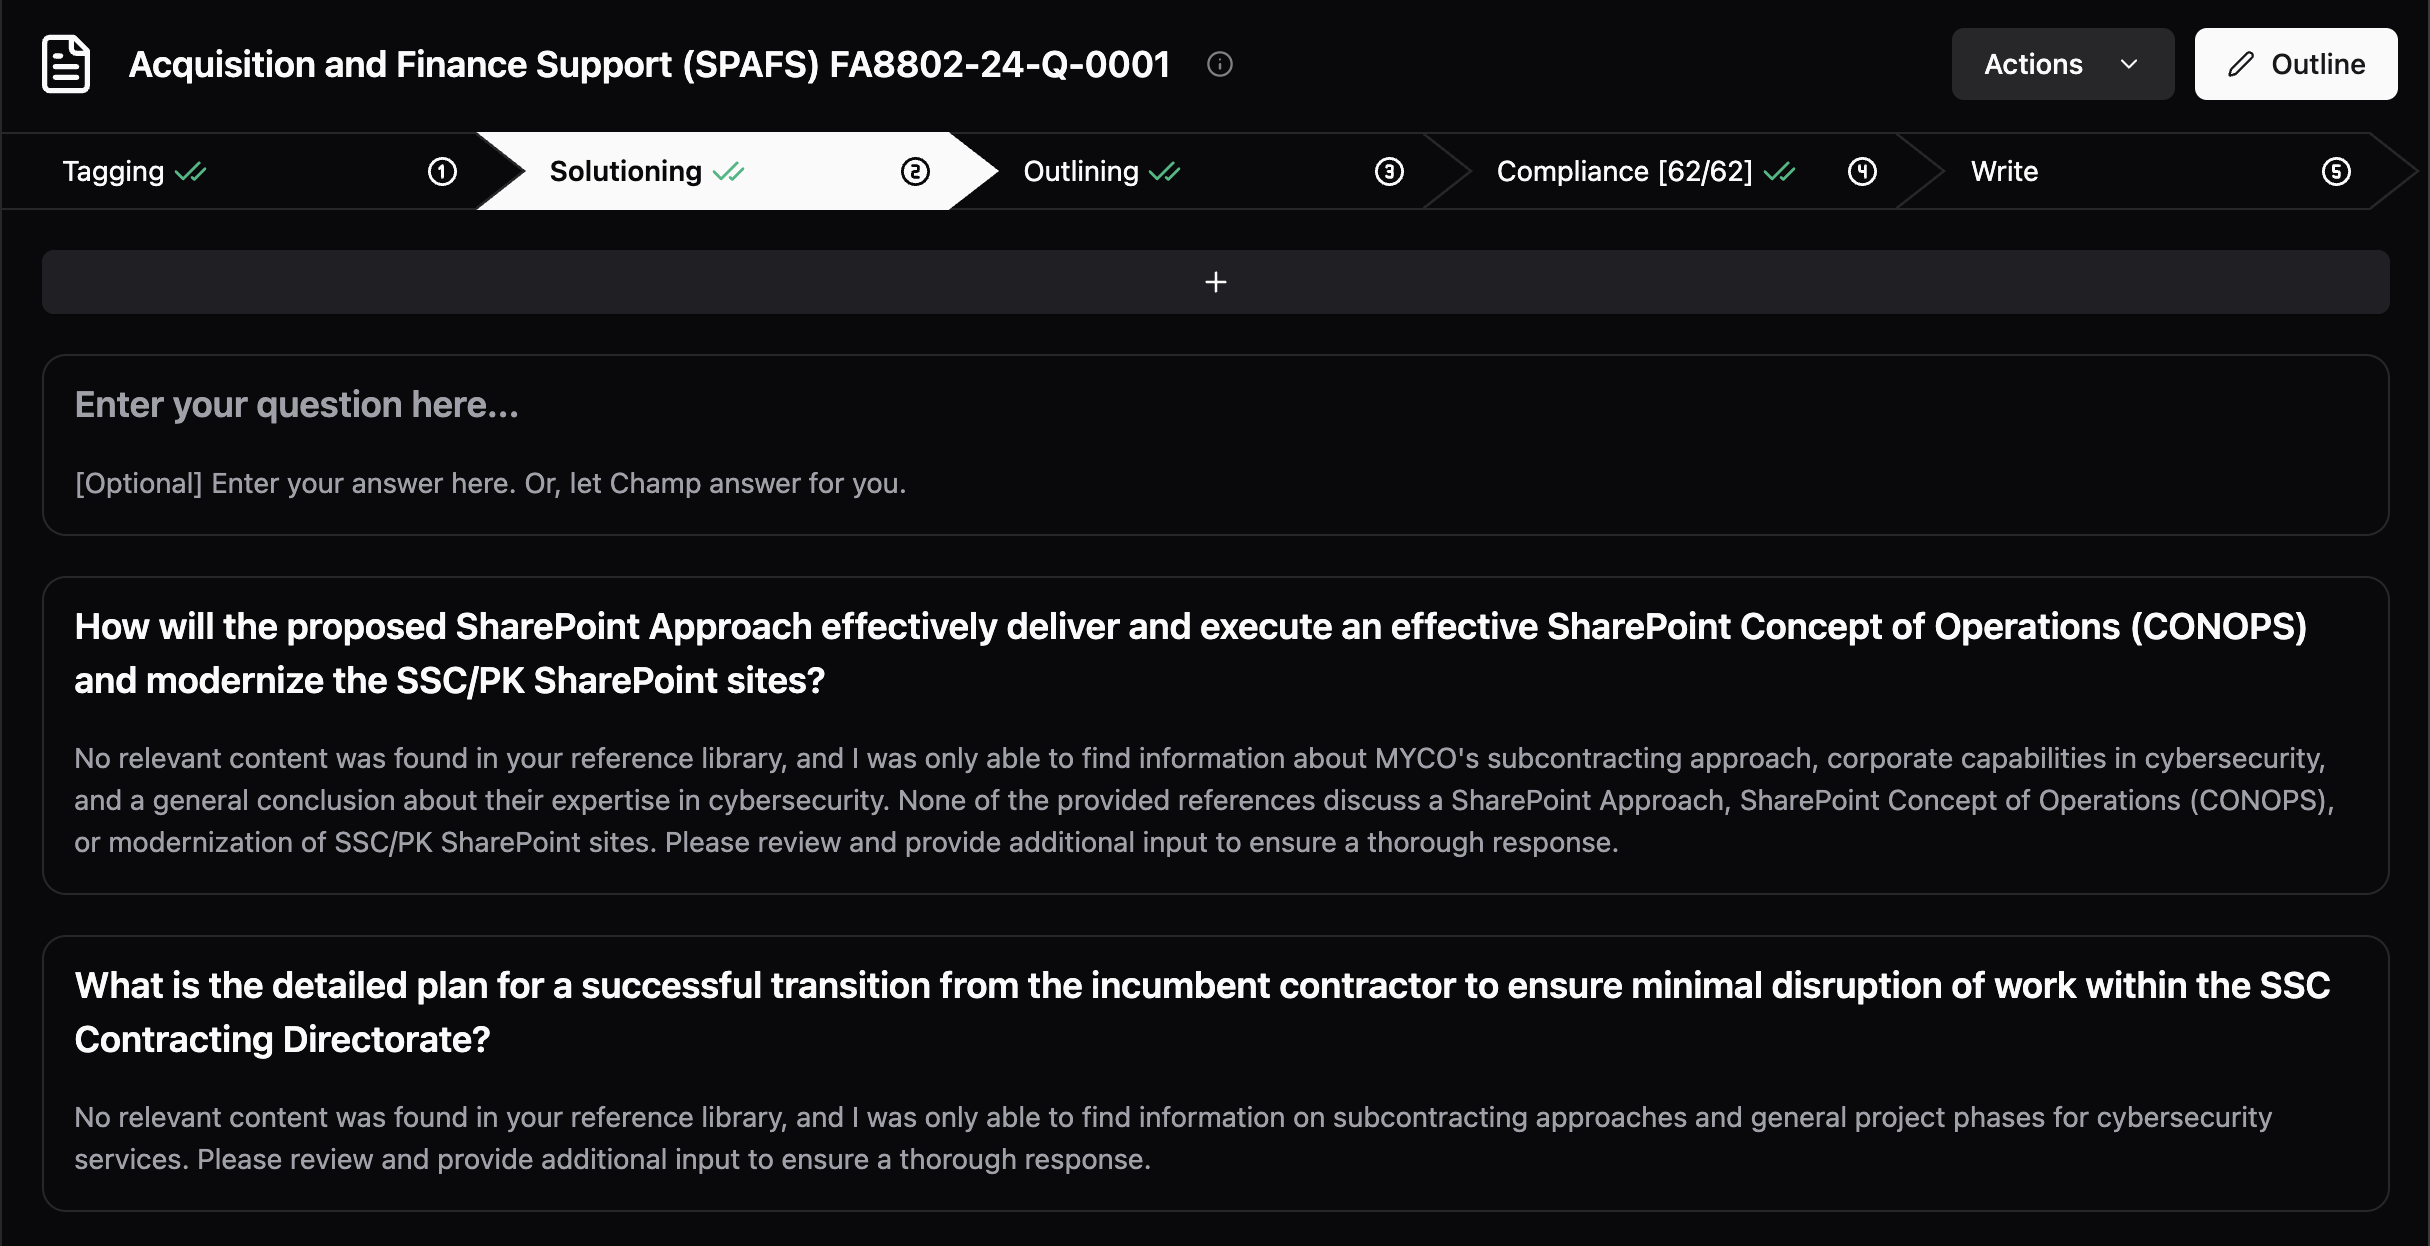
Moving to the Outlining Step
Once completed, you can move on to the outlining step.
Step 3 - Outlining
In this step, you will be able to create the structure of the proposal, add in necessary prompts to draft the content, and to generate the content all live on the screen.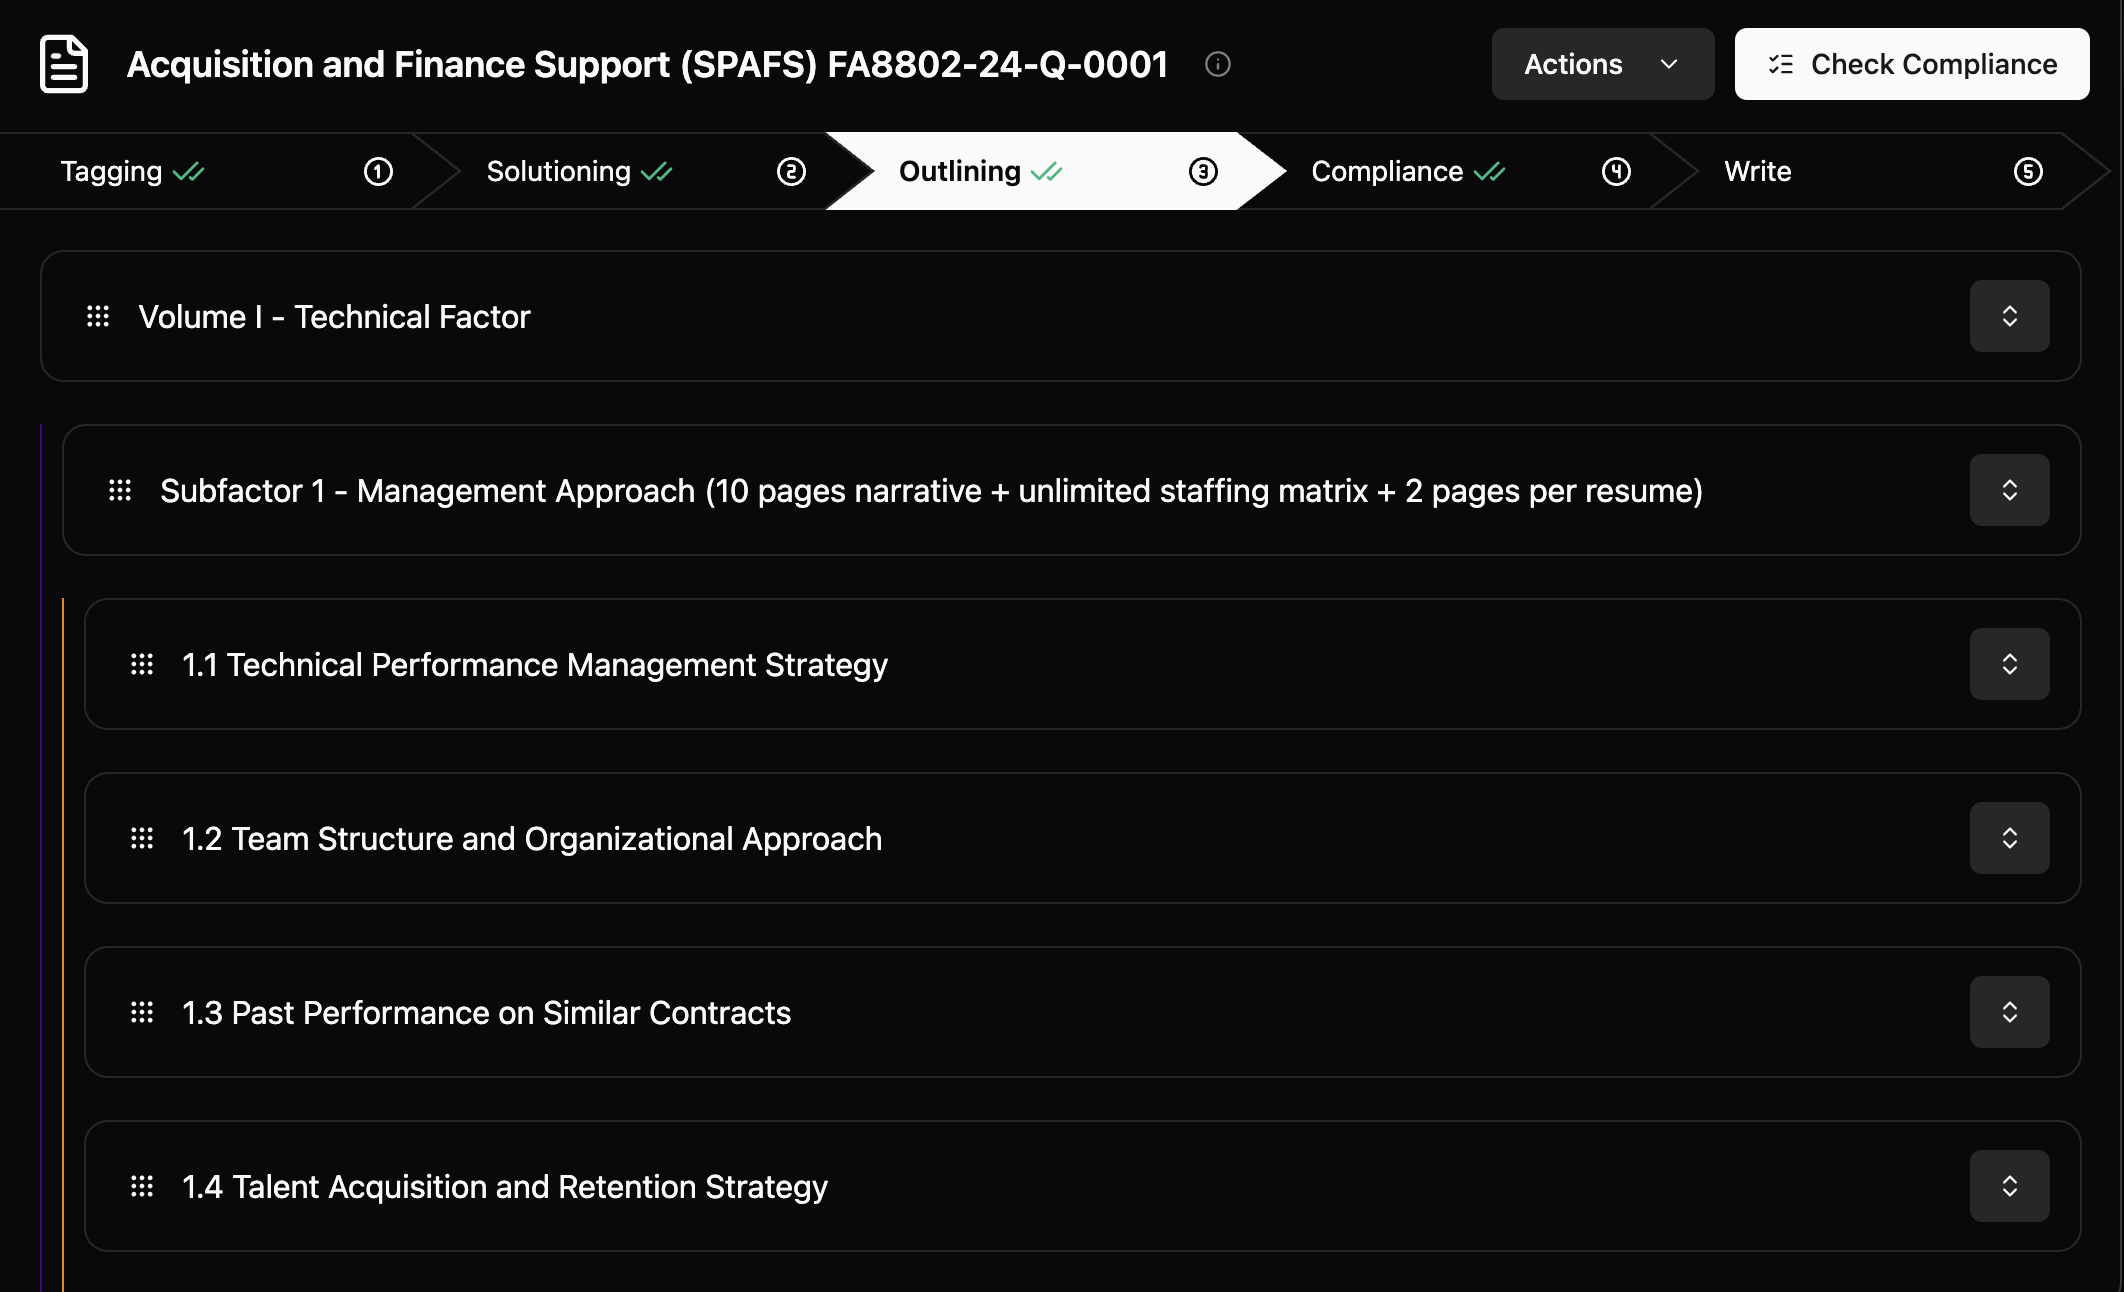
Review the structure and requirements
The platform reviews the solicitation and creates an outline based on the requirements and the evaluation criteria. You can review these requirements by clicking on this button.
Revising the outline
The entire outline is adjustable. You may want to lead with certain sections and prioritize other areas than the ones that are shown. You can edit the headers, add sections, and move the sections around as needed. To move up and down, click the arrows and drag. To adjust (tell the system to re-generate), double-click on the outline section.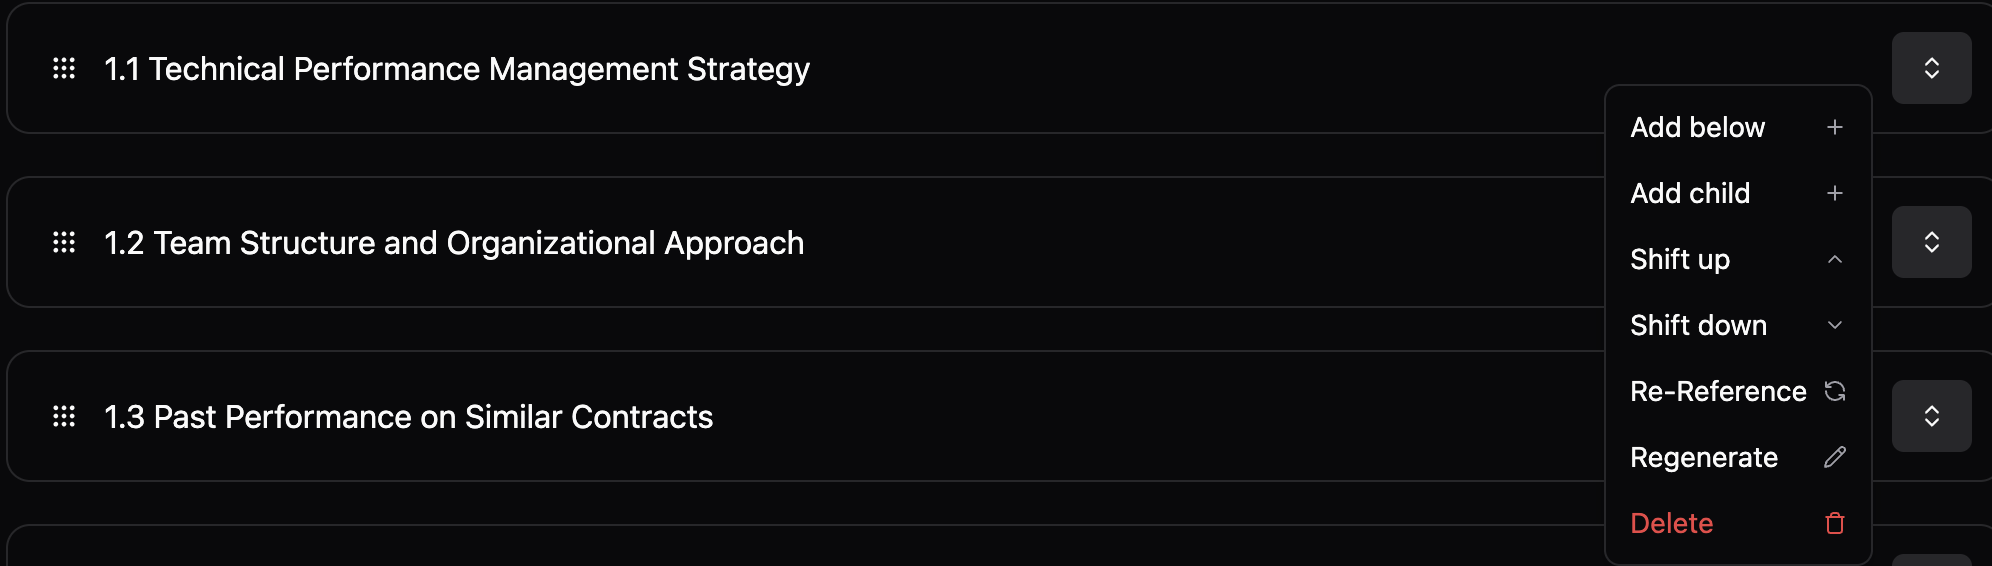
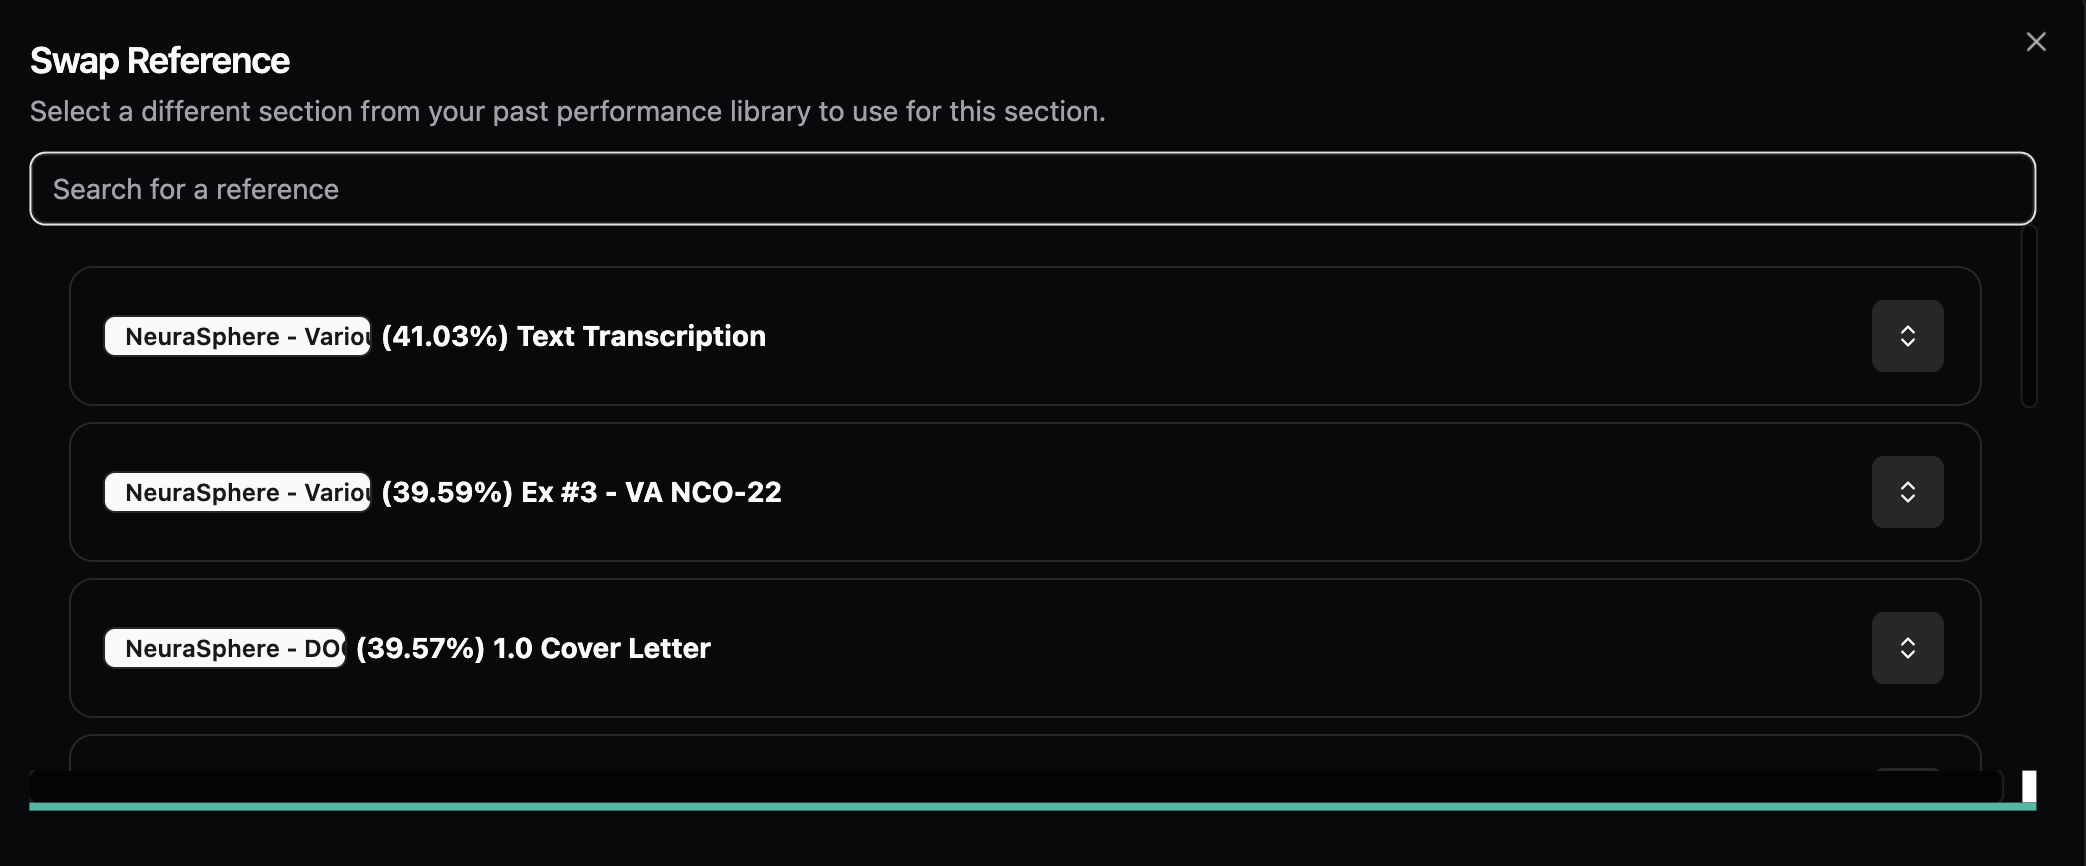
Obligations and References
When you open up a section, you will see a standard list of obligations. These are pre-configured to help generate the content. You may want to edit these or add more, you are able to do so right in the screen.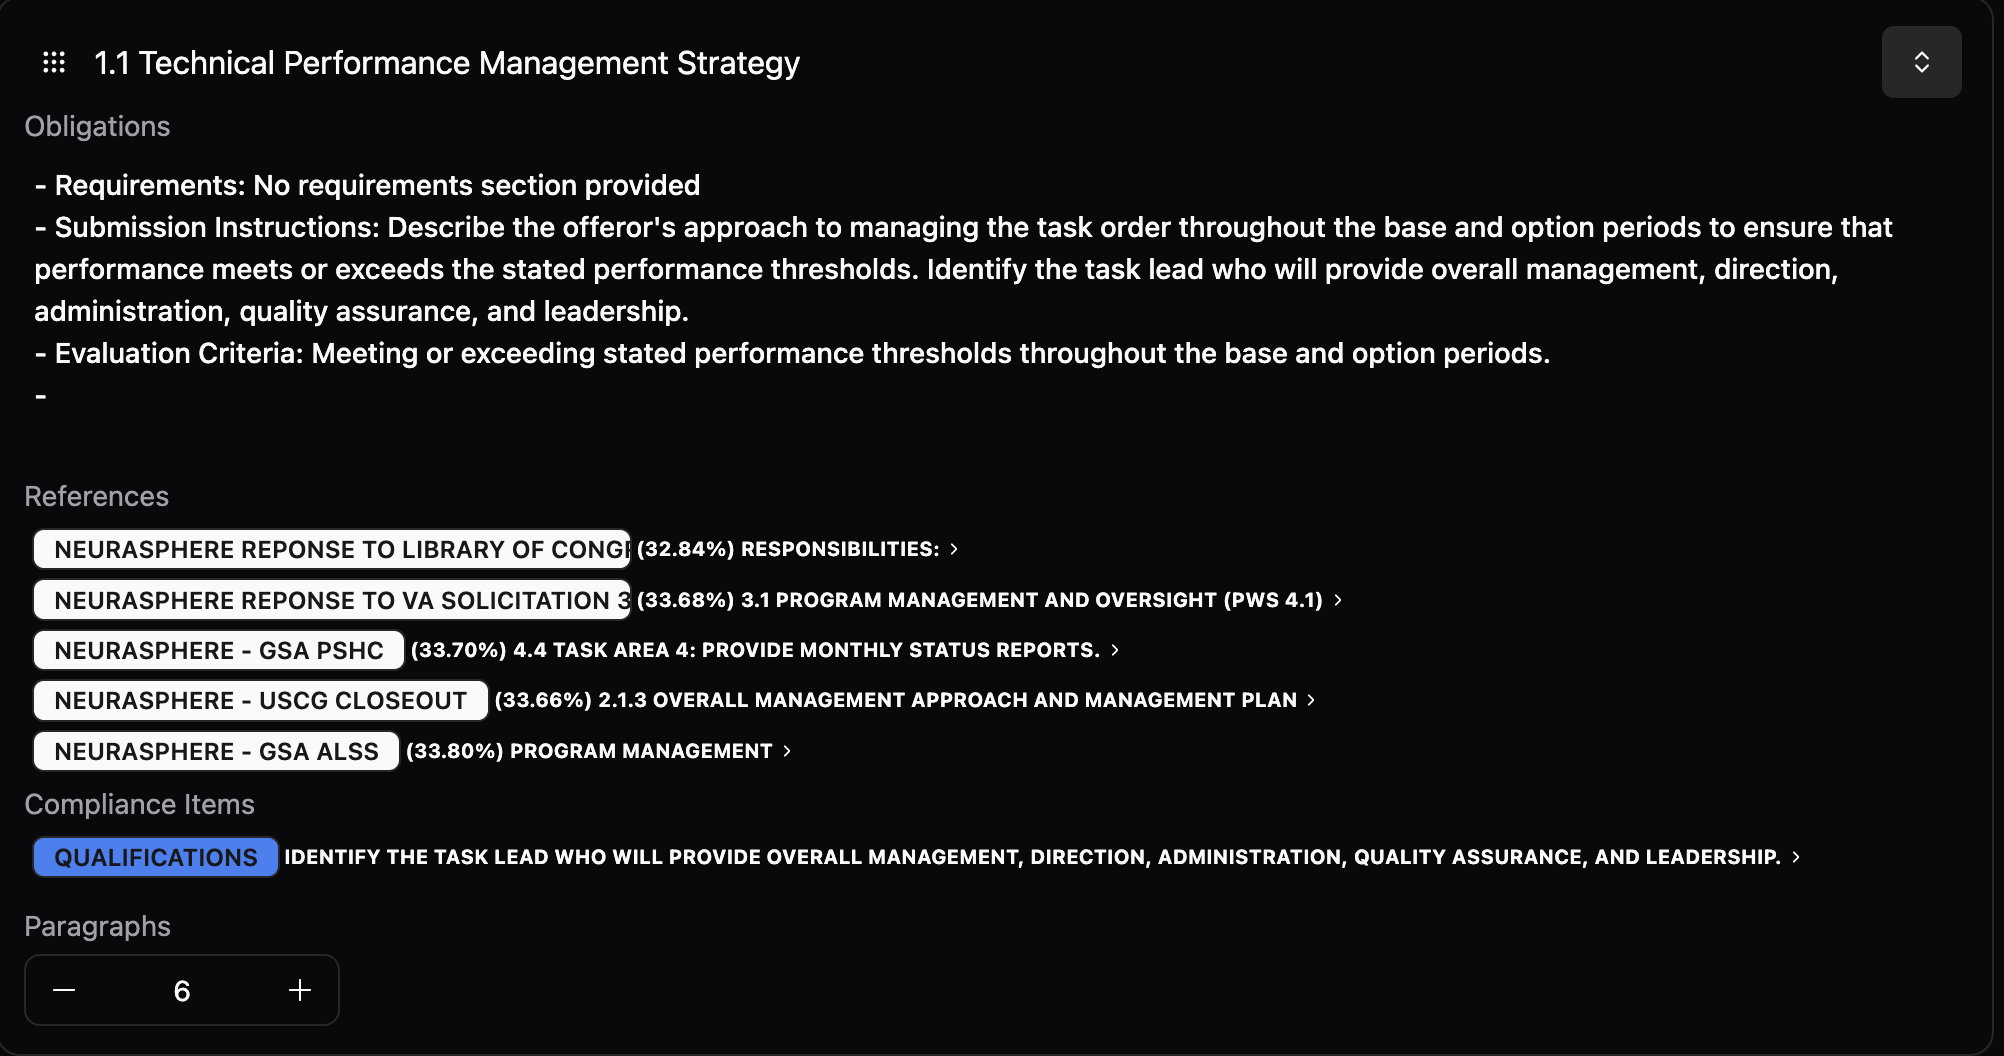

Export as a CSV
At anytime, you are able to export the outline to a CSV to review with your team.
Content Generation
Once you have your outline and obligations created, you click Write from the actions dropdown. This will draft your content. You can watch your content draft in real-time. You can also toggle back to the obligations and references to update the content.Move to Compliance
Once you are done drafting the content, you can click “Check for compliance” and move to the compliance step.
Step 4 - Compliance
In this step, the platform reviews the generated content and traces the information back to the requirement and informs that user if they have met the requirement or not. For the areas that are not met, that requirement is highlight in red. For the ones that are, you are able to see the traceability of the specific content in the draft.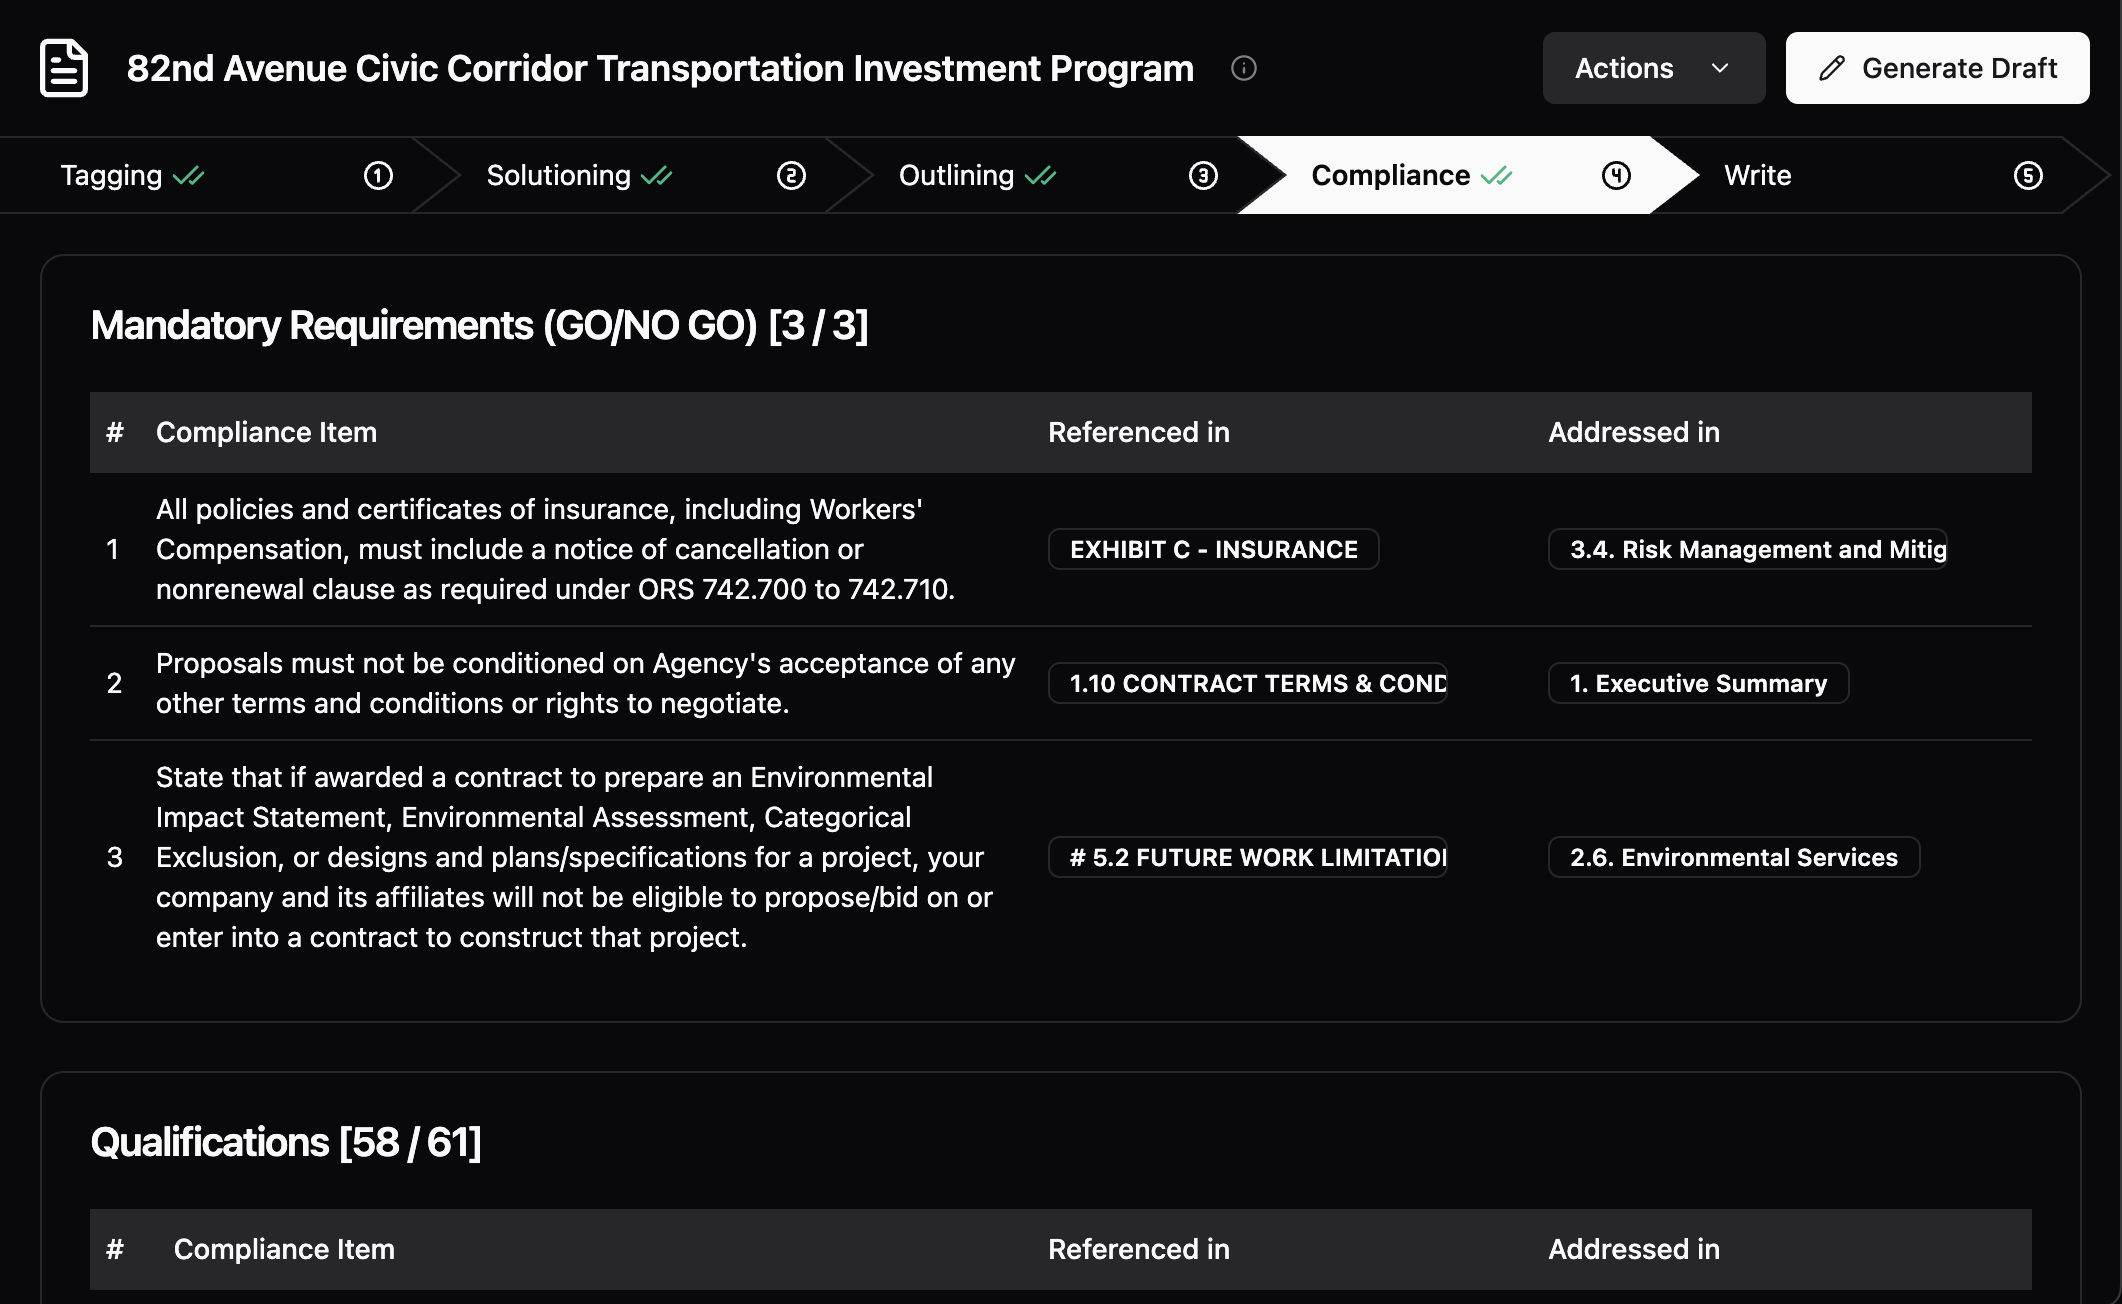
Understanding Each Compliance Area
The platform reviews for 4 key areas: Mandatory requirements; Qualifications; Knowledge; and Experience.


Missing Content
When you have a missing compliance item, the section will be highlighted in red
ReDrafting Content
There may be areas that you want to adjust in your content. Move back a step and update the content to meet the compliance areas.Export as a CSV
At anytime, you are able to export the compliance area into CSV.Generate Draft
Once you are done reviewing compliance, click “Generate Draft”.
Step 5 - Generate
This hwwere you are able to see your generated content before exporting the document.
Review and Edit
Review your content, and edit as you would in Word with in-line text editing and a tools bar.
Reminder
You can restart the proposal workflow at any pointCommon Issues
Browse common issues and solutions
Tips and Tricks
Learn tips and tricks for Unanet ProposalAI